Keyboard Design Part 1 - KiCAD Install
Welcome to the first part in a series on mechanical keyboard design.
KiCAD is the hobbyist's greatest weapon in creating bespoke electronics. It is a completely free and open-source electronic design automation (EDA) suite. It is available on most commonly used platforms including Windows, Linux, and macOS.
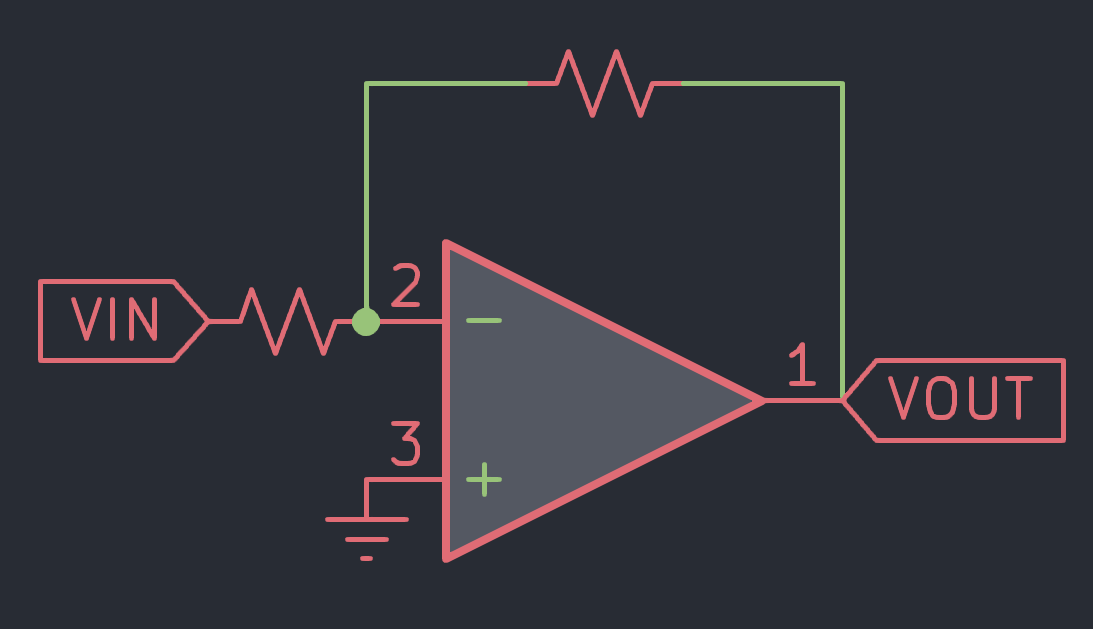
The process of creating a PCB design in KiCAD involves first creating a schematic to describe the abstract electronic parts of a device (i.e. the individual resistors, capacitors, integrated circuits, etc.) to create a list of "nets" or connections between parts.

Here is an example of a schematic for a keyboard using an RP2040 microcontroller. Throughout the series you will learn what every part of the above schematic means.
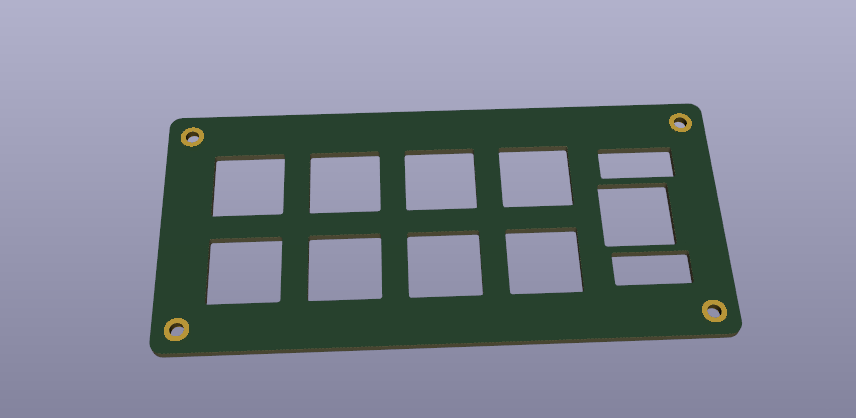
This "netlist" is then used to create the physical layout of a PCB.
The above may sound a bit abstract. Let's dive into the nitty gritty of PCB design by setting up a stellar KiCAD configuration for mechanical keyboard electronics design.

Start by downloading KiCAD for your specific platform at https://www.kicad.org/. Select the latest stable release. N.B. at the time of writing, the latest stable release is 7.0.1.

Start the installer.

Be sure to select all libraries offered.

Install to the default location.

Now launch KiCAD. Open the "Plugin and Content Manager." Select the "Color themes" tab.

N.B. packages will not install until you have clicked "Apply Pending Changes." Select the packages you want to install first.
Select the "wDark Theme" and click "Install" to save your eyesight.
Next, click the "Manage..." button. You will be greeted with a dialogue that will become familiar once working with symbol/footprint tables.
For now, copy and paste the following link to add the kicad-jlcpcb-tools plugin repository by Bouni.
https://raw.githubusercontent.com/Bouni/bouni-kicad-repository/main/repository.json
Click "Apply Pending Changes," select the respository dropdown to switch to Bouni's repository.

Install KiCAD JLCPCB tools and click "Apply Pending Changes."
The final step is to install a very useful KiCAD schematic symbol and footprint library specific to mechanical keyboard development.
Marbastlib is a mechanical keyboard switch/general part library that I have used for almost every mechanical keyboard I have designed.
To install, download or clone the above repository.

Next, in KiCAD, click "Preferences" and select "Manage Symbol Libraries..."

Copy the three files in the repository ending in "*.kicad_sym" to the default ${KICAD7_SYMBOL_DIR} seen in the Path Substitutions section of the Symbol Libraries table.


Next click the "Add existing library to table" button and select the three files you just added. Three new rows should be added to your Symbol Libraries table.

Next, open the "Manage Footprint Libraries..." dialogue from the Preferences dropdown. Much the same process here. Find the ${KICAD7_FOOTPRINT_DIR}, copy over the folders this time, and add them to the table. Generally, KiCAD footprint library folders end with "*.pretty" Optionally, copy the "3d" folder to the ${KICAD7_3DMODEL_DIR}.

You have now completed setup of KiCAD for mechanical keyboard design! In the next tutorial, we will take a look at the basics of keyboard electronics.
For more information and to ask keyboard specific or general electronics questions join our Discord!


